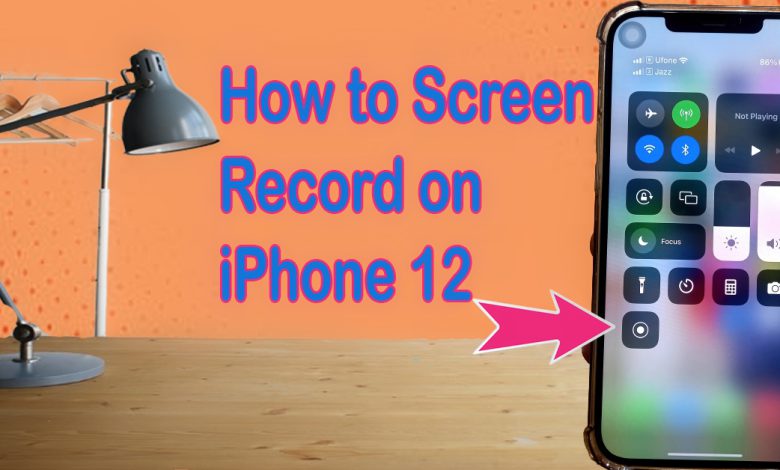
How to Screen Record on iPhone 12- An Ultimate Guide

Many of us are very familiar with the concept of screenshots. It allows you to save whatever is on the screen of your smartphone. The problem arises when you need to keep a record of a series of events on your phone or you need to record a process. Doing so by simply taking loads of screenshots is a waste of your time, energy, and phone storage too. There is always a smart solution to each digital problem, and in this case, the smart solution is named Screen Record.
No doubt, you might have heard this term before and practiced it over your desktops too. You will be, now, pleased and excited to learn that you can also do the same using your iPhone. This article is an ultimate guide to answer the question that is roaming in your mind now: “How to screen record on iPhone 12?”
How to screen record on iPhone 12
Screen recording on iPhone 12 is as simple as on any other device or smartphone. You just need to follow some basic simple steps and you will be able to create your own screen recordings. You will be able to record everything that appears on your screen either a video, notifications, apps, or games. In this way, you can share systematic instructions with others and work in harmony. These steps are as follows:
- Create a screen record shortcut (for your convenience).
- Start screen recording with or without voice recording.
- End the recording and save it.
1. Create a Screen Record Shortcut
Before you simply start recording the screen, it is advisable to create a shortcut in the control panel. This will, in the future, save your time and you do not have to undergo a long process every time. For this purpose:
- Go to settings.
- Tap on the control center option.
- Find the option of “More Controls” and tap it.
- Select the screen recording option from the list by tapping on the plus sign present on its left side.

By following these steps, you will be successful in generating the screen recording shortcut button in the control center. Now you can easily start a screen recording by simply going to the control center.
2. Start screen recording with or without voice recording
- Recording Without Audio: Swipe down from the right corner of your iPhone, near the battery sign. You will see the control center on your screen. Since you have already created a screen recording shortcut, you just now need to tap its icon (a filled circle inside a hollow circle) once to record without audio. This will initiate screen recording within 3 seconds (timer shown on screen).
- Recording With Audio: You need to long-press the screen recording icon and it will generate a pop-up message over the screen. To use your phone microphone to record your audio, tap on the microphone icon and then tap on the star recording option. After a short-timer of 3 seconds, your recording will be initiated.

Once you have made the right choice for your screen recording, you will see a clock in red color over your screen. It will keep a record of how long you have been recording your screen.
3. Stop Recording
If you are done with screen recording and wish to finish it; you can do it in two ways:
- Go back to the control center of your iPhone 12, you will see the screen recording icon there (in red color now). Just by tapping on this icon, you can finish your screen recording.

- Simply tap on the clock running over your recording screen. A pop-up message will appear. Tap on the stop recording option.

Following any of the two ways mentioned above, you can finish your screen recording. After this, you can see a confirmation message on the screen stated as: “Screen Recording video saved to Photos.”

Where to find the screen recordings on iPhone 12?
If you have turned off your screen recording successfully, then it is stored in your iPhone storage. Your iPhone 12 has a standard “Photos” application. All your screen recordings are saved in this app by default. Anytime you want to access any of the screen recordings you just simply need to enter the iPhone’s standard “Photos” app.
Adjusting Screen Recording Settings
iPhone does not give you the authority to alter the settings of screen recording. You can not make any changes to the resolution or the quality of the screen recording video. All you can do is edit the final recorded video in the “Photos” app. Though it can facilitate you to share your screen in the Facebook broadcast rather than saving it into your phone storage.
Edit your screen recording
The “Photos” app in your iPhone 12 also provides you with a facility to edit your screen recording video. You can
- Trim
- Adjust colors
- Apply filters
- Rotate/crop the screen recording video
After editing your screen recording video never forget to select the DONE option, else all your changes will be discarded, and you will have to start over.

Limitations of screen recording in iPhone 12
While recording your screen you might also record some confidential or personal information. For instance, while screen recording all the messages and notifications are also recorded. You might receive an OTP at that time which should not be shared with anyone, but it will be recorded, and you may lose its confidentiality. In this case, it is recommended to keep your phone in “DO NOT DISTURB” mode while screen recording.
Screen recording on iPhone allows you to record each and everything whether it is an app data or a gaming strategy, but it restricts you from recording the shows that are premiered on Disney+, Amazon Prime, or Netflix as it may result in copyright issues. The shows on these apps can only be available to those who buy their subscription.


