How to Do a Lenovo Warranty Check in Minutes (2025 Guide)

Lenovo is one of the most reliable technology brands, which offers a range of devices from laptops and desktops to tablets and servers. Whether you own a Lenovo IdeaPad, ThinkPad, or Legion gaming laptop, keeping track of your device’s warranty status is crucial. Therefore, you should know how to do a Lenovo warranty check in minutes.
It will help you determine whether your device qualifies for free repairs, replacements, or extended warranty options. If you do not know how to do it, I have mentioned the step by step guides and procedures in this blog post.
Why You Should Check Your Lenovo Warranty?
Start creating Verdict in seconds, and convert more of your visitors into leads.
Before moving into the methods to learn how to do a Lenovo warranty check in minutes, here are some reasons why checking your Lenovo warranty is essential:
- Free Repairs & Support: If your device is under warranty, you can get free repairs for hardware failures or defects.
- Replacement Options: Some warranties offer replacements for faulty devices.
- Extended Warranty: Knowing when your warranty expires helps you decide whether to purchase an extended warranty.
- Resale Value: A device with an active warranty has a higher resale value.
How to Do Lenovo Warranty Check in Minutes?
Start creating Verdict in seconds, and convert more of your visitors into leads.
In the under section, I have explained different methods that will assist you in performing Lenovo warranty check in minutes.
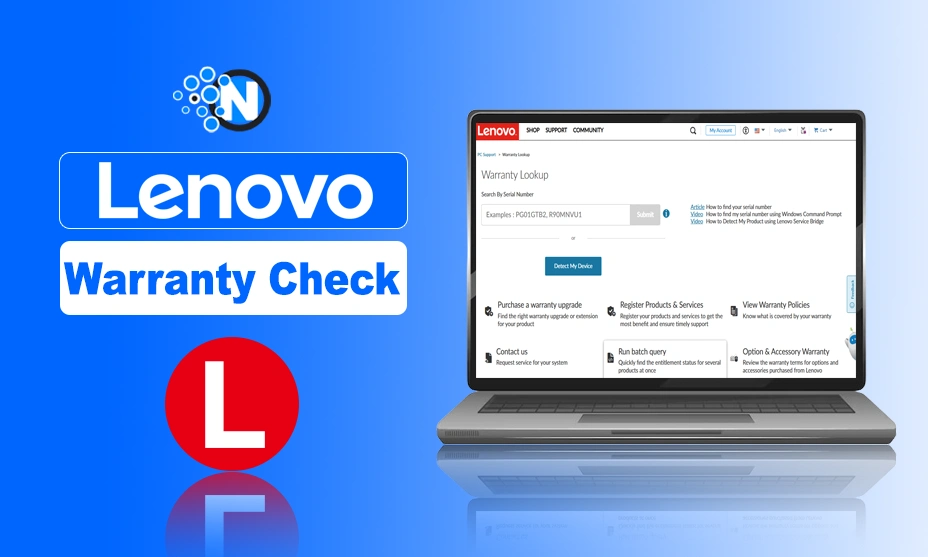
1. Check the Warranty via Lenovo’s Official Website
The easiest and most reliable way to check your Lenovo warranty is through Lenovo’s official warranty status tool. Follow these steps:
Step 1: Find Your Serial Number
Firstly, you should find the serial number of your Lenovo device. Each of Lenovo products has a unique number which is usually found as:
- On a sticker at the bottom of your laptop.
- In the battery compartment (for older models with removable batteries).
- On the back panel of desktops and tablets.
- In BIOS/UEFI settings (press F1 or F2 during startup).
- By running the Lenovo Vantage app.

Step 2: Visit Lenovo’s Warranty Status Page
Next, you have to open your web browser and go to Lenovo’s official warranty status page, “https://pcsupport.lenovo.com.” Then,
- Click on “Warranty Lookup“.
- Enter your serial number and click “Submit“.
Step 3: View Your Warranty Details
Following the steps above will enable you to access the Lenovo Warranty Page and enter your serial number. After that, Lenovo will display:
- Warranty expiration date.
- Type of coverage (standard, extended, or premium support).
- Eligibility for extended warranty.
2. Use Lenovo Vantage (For Windows Users)
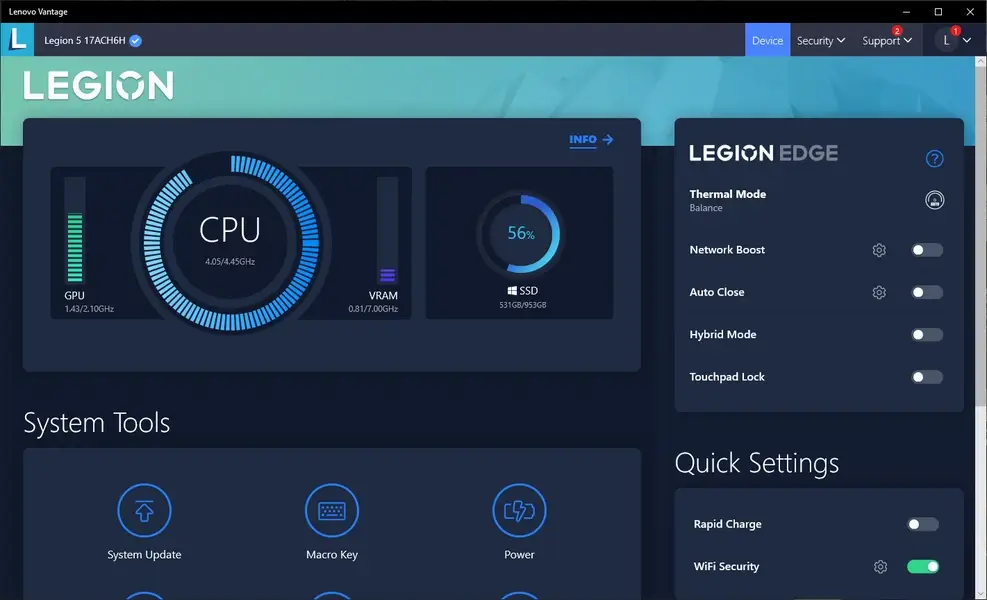
Lenovo Vantage is a pre installed application on most Lenovo laptops. It provides system updates, diagnostics, and warranty details. Here’s how to check your warranty with its help:
- Open Lenovo Vantage (search for it in the Windows start menu).
- Click on “Device” in the left panel.
- Select “Warranty & Services”.
- Your warranty status, including coverage and expiration date, will be displayed.
3. Check Warranty via Lenovo ID Account
If you registered your Lenovo device, you can check your warranty through your Lenovo ID account. I have mentioned the steps you are required to follow:
- Go to https://account.lenovo.com.
- Log in with your Lenovo ID.
- Click on “My Products” to see registered devices.
- Your warranty details will be listed under the respective device.
4. Check the Warranty via the Lenovo Support Chat
Another quick method is using Lenovo’s customer support chat feature. This is one of the most convenient ways to do a Lenovo Warranty Check without any challenge.
- Visit https://pcsupport.lenovo.com.
- Click on “Contact Us”.
- Choose “Live Chat” and provide your serial number.
- A Lenovo support agent will confirm your warranty details.
5. Call Lenovo Customer Support
If you prefer a direct conversation, you can call Lenovo’s customer support. Below are the details regarding this method.
- Find your country’s Lenovo support phone number at https://support.lenovo.com/contactus.
- Call the support line and provide your serial number.
- The agent will verify your warranty status and provide further assistance.
6. Check Warranty via Email Support
If live chat or calls aren’t convenient, you can email Lenovo support as it is a more professional approach to doing a warranty check for your laptops or other devices.
- Visit the Lenovo support website and find the email contact option.
- Send an email with your serial number and request warranty information.
- You will receive a reply with your warranty details within 24-48 hours.
Final Thoughts
Start creating Verdict in seconds, and convert more of your visitors into leads.
These are the details about how to do Lenovo Warranty check in minutes. I have mentioned different methods alongside providing step by step processes so that you can find convenience and comfort while checking the warranty of your device.
Whether you use Lenovo’s website, Lenovo Vantage, or customer support, keeping track of your warranty ensures you get the best support for your device. If your warranty is about to expire, consider extending it for added protection.
Follow the methods above, and you will always know the status of your Lenovo device’s warranty!


