Looking to establish a customized shopping experience within the Amazon marketplace for your brand? No worries as Amazon Storefronts provides you with an exciting opportunity.
It not only allows brands to showcase their products but also enables them to tell their brand story and engage their customers in a way that a standard product listing cannot. But the question is how to create an Amazon Storefront page that can provide you with desired benefits.
If you are struggling with creating this page, this guide is for you as I have mentioned all the necessary details you are required to follow to start your journey and pocket the ultimate outcomes.
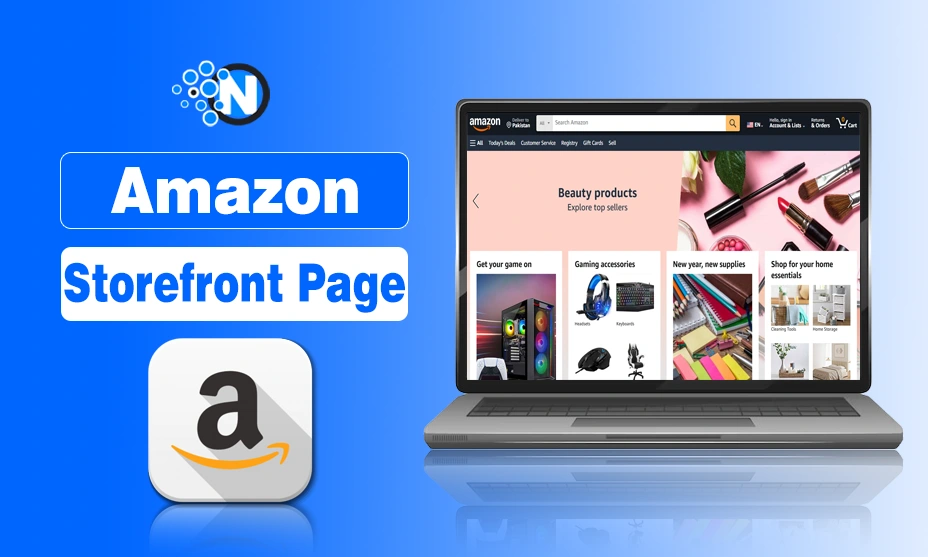
What is an Amazon Storefront?
An Amazon Storefront is a dedicated, multi page digital store that allows brand owners to display their products in a well organized and visually appealing manner. Unlike standard product listings, which focus on individual items, a Storefront functions more like a mini e-commerce website within Amazon and offers customers a curated experience.
You can customize your storefront with banners, videos, and featured collections. Hence, it makes it easier for customers to explore your brand and products. This feature is particularly beneficial for businesses looking to differentiate themselves in Amazon’s highly competitive marketplace.
Why Should You Create an Amazon Storefront?
Having an Amazon Storefront offers several advantages that go beyond simply listing products. You can establish yourself as a strong contender on this saturated and competitive digital landscape.
- Firstly, it enhances brand recognition by providing a space that is visually aligned with your brand identity. Customers are more likely to trust a seller with a well designed storefront than one without it.
- Additionally, Storefronts improve the customer shopping experience. Instead of searching through hundreds of similar products, customers can browse a brand’s catalog in an organized and visually engaging way. This leads to higher engagement, better conversion rates, and ultimately, increased sales.
- Another key benefit is that Amazon Storefronts provide you with analytics tools and allow you to track visitor behavior, sales performance, and the effectiveness of different promotional strategies.
Eligibility Requirements for Creating an Amazon Storefront
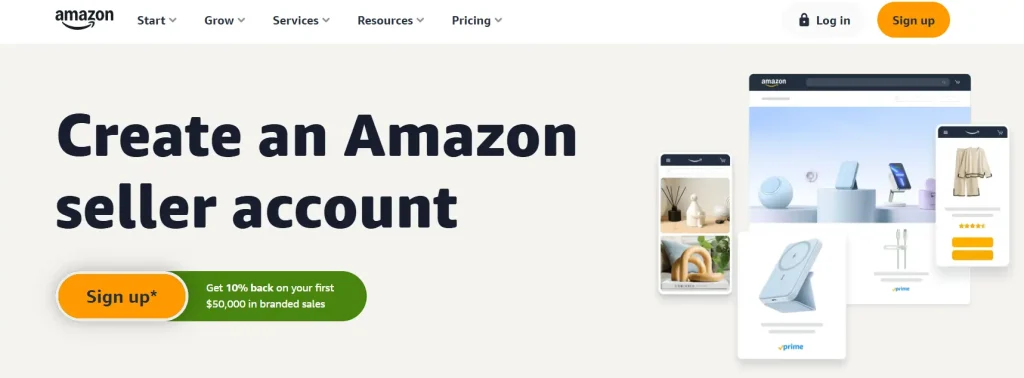
Before you begin, it is essential to check whether you qualify to create an Amazon Storefront. Not every seller is eligible, as Amazon restricts this feature to registered brands. To be eligible, you must:
- Have an active Professional Seller or Vendor account on Amazon.
- Be enrolled in Amazon Brand Registry, which ensures that only brand owners can create and manage Storefronts.
- Have a registered trademark for your brand that meets Amazon’s requirements.
If you haven’t yet registered your brand with Amazon Brand Registry, you will need to apply first. This process involves providing your trademark details and business information, and it usually takes two to three weeks for Amazon to verify and approve your application.
How to Create an Amazon Storefront Page?
In the under section, I have mentioned a step by step guide on how to create an Amazon Storefront Page so that you can go through this complex task without facing any challenges.
Step 1: Access Amazon Stores in Seller Central
Once your brand is approved under Amazon Brand Registry, log in to Amazon Seller Central and navigate to the “Stores” tab. Here, you will find an option to create a new Storefront under your registered brand name. Click on it to begin the setup process.
Step 2: Choose a Template or Build from Scratch
Amazon provides several Storefront templates that can resonate with different types of brands and products. You should check them out to determine if anyone can match your preferences or requirements. These templates include:
- Product Grid: Best for sellers who want to display a large number of products in an organized layout.
- Marquee: A visually rich template that highlights featured products with large banners and images.
- Highlight: Ideal for storytelling that allows you to present your brand’s mission and values alongside product listings.
Alternatively, if you prefer complete control over the design, you can build your Storefront from scratch using Amazon’s drag and drop editor.
Step 3: Customize Your Storefront Design
This is where you shape the look and feel of your Storefront to reflect your brand identity. The following tactics can help you quite effectively in this regard:
- Start by uploading a high quality brand logo and selecting a background color scheme that matches your brand aesthetics.
- Next, structure your Storefront with multiple sections to make navigation easier for customers. For example, if you sell multiple product categories, such as electronics and home appliances, create separate pages for each category. This helps customers find what they are looking for quickly.
- Adding banners and promotional images can also enhance the visual appeal of your store.
Amazon allows you to upload full width images, which can be used to create engaging headers or highlight best selling products.
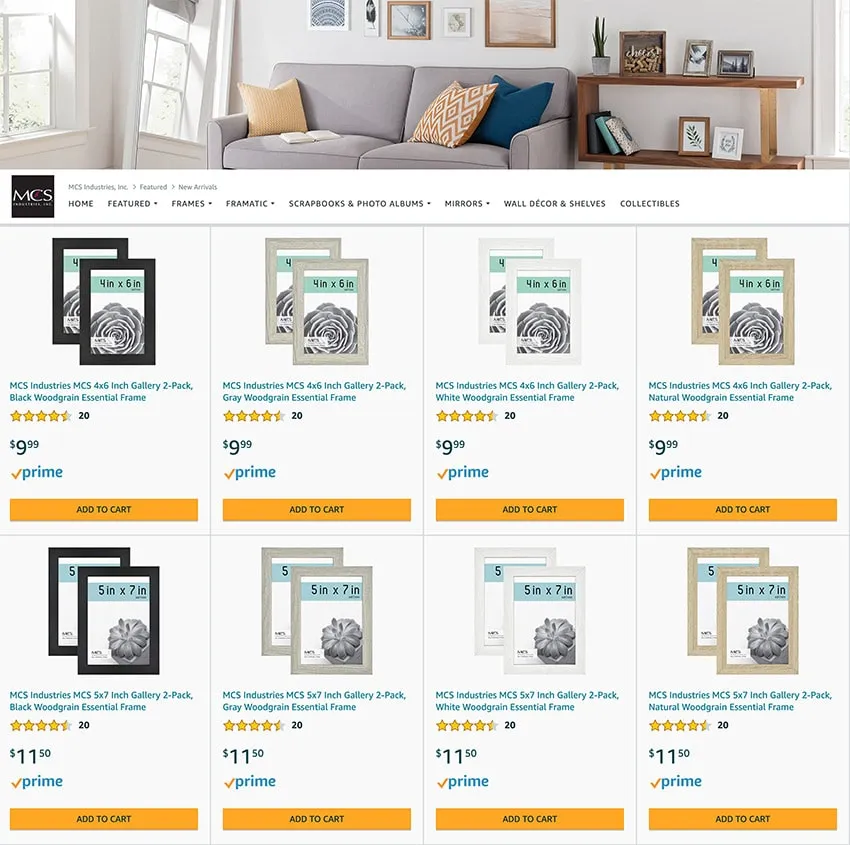
Step 4: Add Products to Your Storefront
Once the layout is finalized, it’s time to add your products. You can do this by selecting the “Product Grid” option and searching for your products from your Amazon catalog. For each product, ensure that you include:
- High resolution images that showcase the product.
- Concise yet informative descriptions that highlight key features and benefits.
- Pricing and availability details to ensure customers have up to date information.
- To improve the customer shopping experience, you should group related products into collections or featured sections. For example, if you sell skincare products, you might create a “Best Sellers” section and a separate “New Arrivals” section.
Step 5: Preview and Publish Your Storefront
Before making your Storefront live, you should use the Preview function to check for any formatting issues or missing details. Pay close attention to how your store appears on both desktop and mobile devices, as many customers shop via smartphones.
Once you are satisfied with the final layout and content, click “Submit for Publishing.” Amazon typically takes 24 to 72 hours to review and approve new Storefronts.
Tips to Optimize Your Amazon Storefront for Maximum Impact
Now, as you have learned how to create an Amazon Storefront Page, it is time to optimize it so that it can help you grab the targeted outcomes and achieve the desired goals.
1 – Use High Quality Visuals and Videos
One of the most effective ways to increase engagement on your Storefront is to use professional grade images and videos. Videos, in particular, can be incredibly persuasive, as they allow you to demonstrate how your products work. For best results:
- Use lifestyle images that show products in real world scenarios.
- Add short promotional videos (under 60 seconds) to highlight key product features.
2 – Improve Store Navigation and Layout
A well structured Storefront makes it easy for customers to find what they need. That’s why you should improve the navigation structuring of your store and make sure that all the categories are easily accessible to your customers. Some key tactics are below:
- Use clear categories and subcategories to organize your products.
- Consider adding a search bar or a menu with clickable links to different sections, especially if you have an extensive product catalog.
3 – Use Amazon Store Insights for Performance Tracking
Once your Storefront is live, it would be best to regularly check Amazon Store Insights. In this way, you can determine the flaws and work to improve them to sustain your position in this digital landscape. The key factors to track are:
- Visitor traffic: Determine how many people are visiting your store.
- Conversion rates: Check the percentage of visitors who make a purchase.
- Sales performance: Lastly, calculate the revenue generated from the Storefront.
These insights help identify which sections are performing well and where improvements are needed.
Final Thoughts
These are the details on how to create an Amazon Storefront Page as it is an invaluable tool for brands looking to establish a strong presence on Amazon. It not only enhances your brand’s credibility but also improves the customer shopping experience by providing a visually appealing and well organized catalog of your products.
You can maximize the impact of your Storefront and drive significant sales growth by carefully designing your store, using high quality visuals, optimizing navigation, and leveraging Amazon’s analytics tools. If used correctly, an Amazon Storefront can serve as a long term asset for brand building and customer engagement.