Do you ever think about what impacts writing skills the most? However, the writing methodology and writing style do affect writing pieces, but the design has a different potential to affect writing work. Therefore, improving the design of your documents is important to delivering information in an effective way by adjusting margins personally.
How to do so if you are writing on Google Docs?
If you are writing on Google Docs, then changing your writing style and design by adjusting margins is so simple. Don’t worry! If you have no idea about margins in Docs.
I have compiled a beginner’s tutorial for you on how to change margins in Google Docs. Let’s start with an overview of Google Docs’ margins.
Let’s start with understanding Margins!
What are Margins in Google Docs
Margins in Google Docs are blank spaces in a document between page edges and the content. They don’t have any specific function other than preventing documents from touching the boundaries of the document. Each writer should have their own margin settings to set himself different from others because Google Docs sets a one-inch margin for each user.
Personalization is the factor that enhances users’ engagement with written content. So, why do you stay dependent on Google Docs default settings? Make your own writing style and content design to make it look more attractive.
How to Put Margins in Google Docs – Simple Steps
If you are a newbie in Google Docs, then you may have no idea how to change margins in Google Docs. But don’t worry! This guide will have your back. Let’s start with accessing Google Docs:
Step 1- Access Google Docs
How to start a process on a specific platform? Right, accessing the platform first. Therefore, you need to browse Google Docs on a new tab on your preferred internet browser, whether Chrome or Firefox. Alternatively, you are free to access the platform from this: https://docs.google.com/.
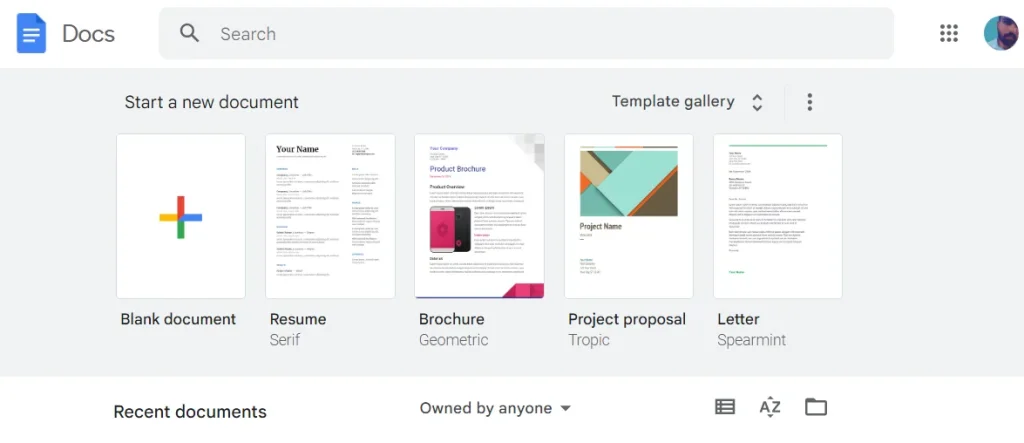
Sign in with your Google account by entering your credentials in the blanks, leading you to create a new document option. Here, you will see multiple prepared templates with regular margins Google Docs, such as resumes, brochures, project proposals, and letters. If you are interested in writing your own piece, then you are free to choose the “Blank document” option.
Step 2- Create a Blank Document
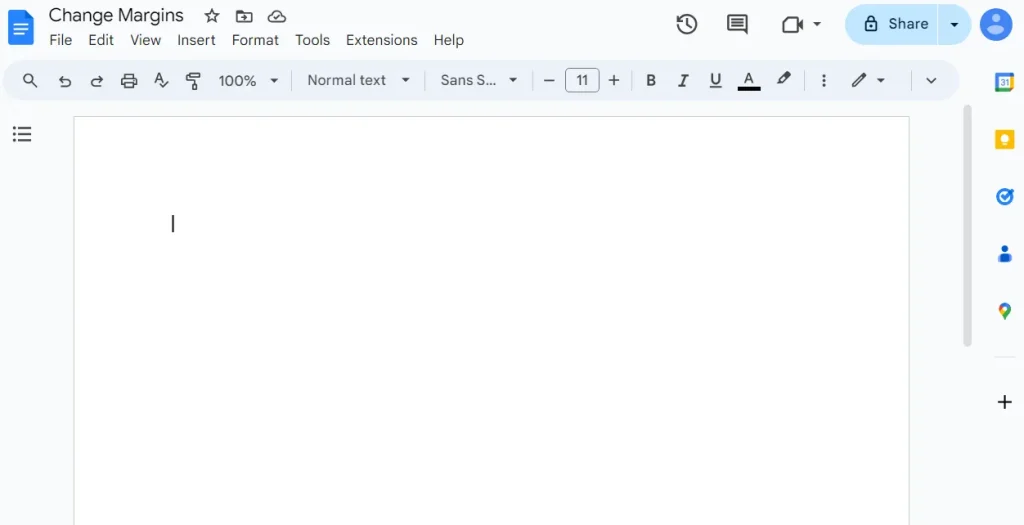
Secondly, you need to create a blank document to proceed with the procedure. Click on the Blank document option to do so. It will lead you to a blank document where you can practice how to change margins in Google Docs. Rename the blank document according to your preference and write something to experience how margins affect writing designs.
Step 3- Click on File
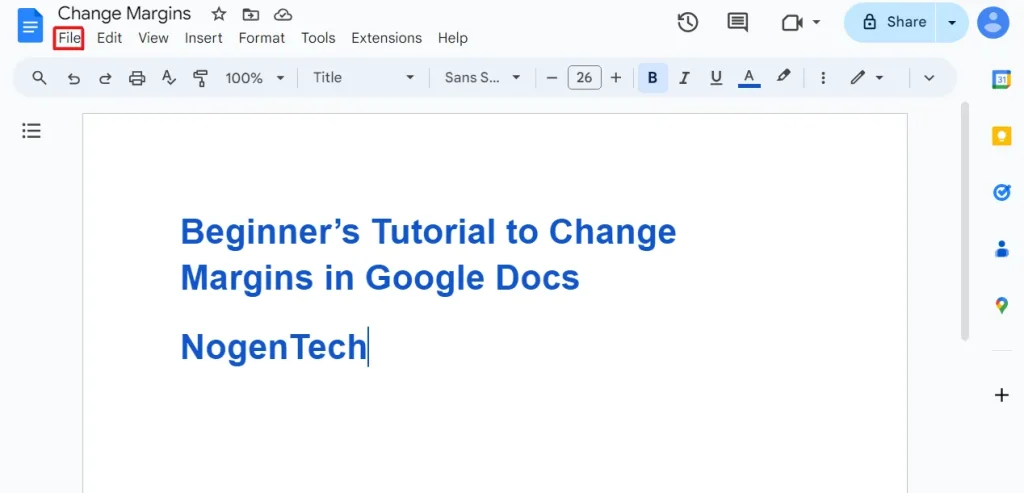
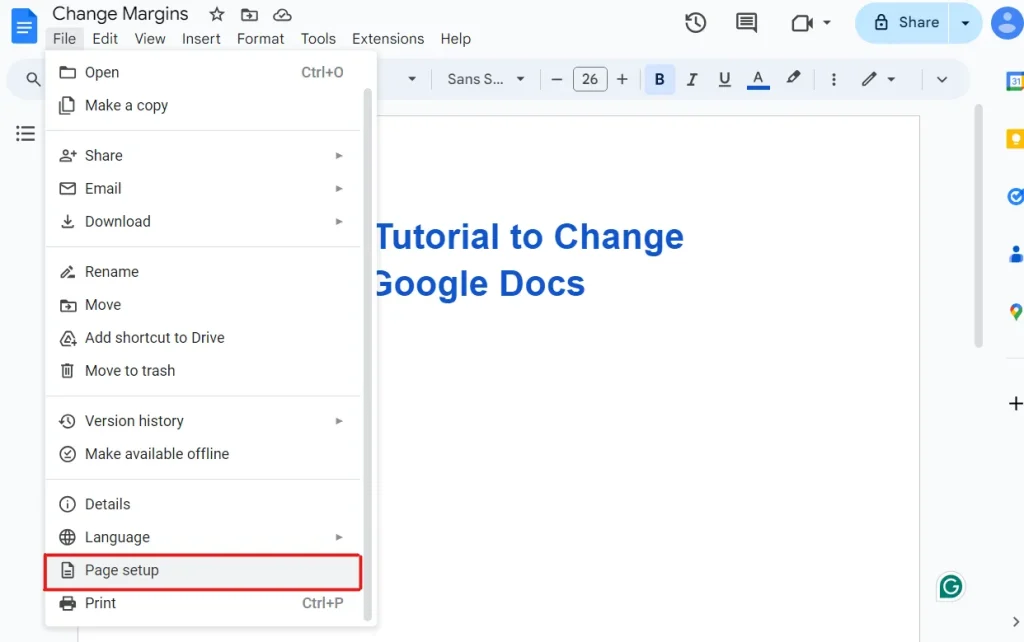
I have written the Beginner’s Tutorial to Change Margins in Google Docs phrase on a blank document to see how it will look after I set up margins according to my preference. Now, you need to click on the “File” button, which will present you with some options. For instance, you can make a copy, share, download, and more to enhance your writing experience in Google Docs. Moreover, it allows you to download the written piece in multiple formats, like PDF.
Step 4- Click Page Setup
Now, select the “Page Setup” option to set the margins of your writing piece. After clicking on the File option, you will see these options. You are free to rename your document and share it with other writers to take assistance or collaborate. Further, you may provide them with editing access so they can write or rewrite things, you may have done wrong. In this way, Google Docs improves your writing experience and enables you to write a compelling piece.
Step 5- Put Margins
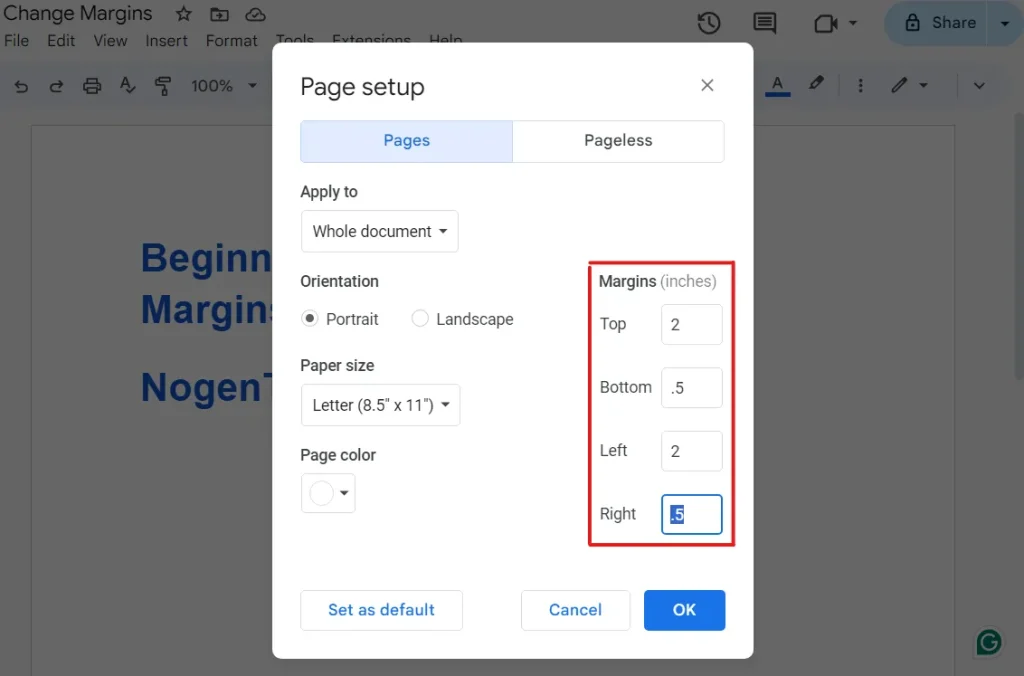
The page setup option will take you to page settings, where you are free to change the layout to pages or pageless forms. I suggest you change the settings to pages and change the margins. Now, you will see margins in inches and set on standard settings as 1 inch per Top, Bottom, Left, and Right. You can edit Google Doc margins according to your preferences as I did. I changed margins in Top 2, Bottom 0.5, Left 2, and Right 0.5.
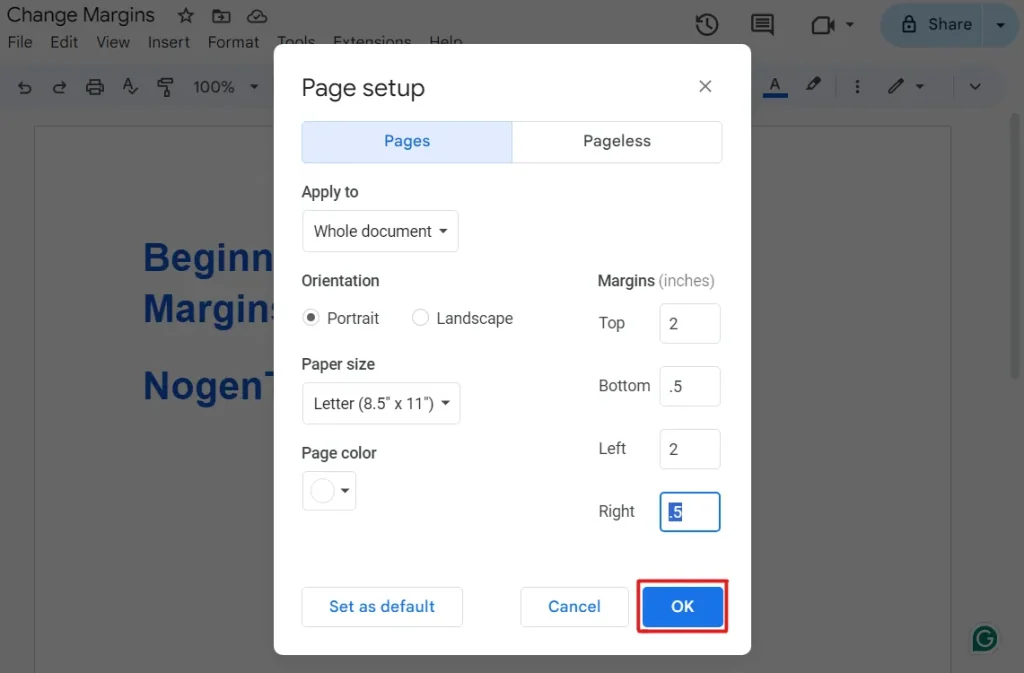
Step 6- Click “OK”
After putting your preferred margins, you are free to click the “OK” button. This will set new boundaries for your document and provide you with an effective writing experience.
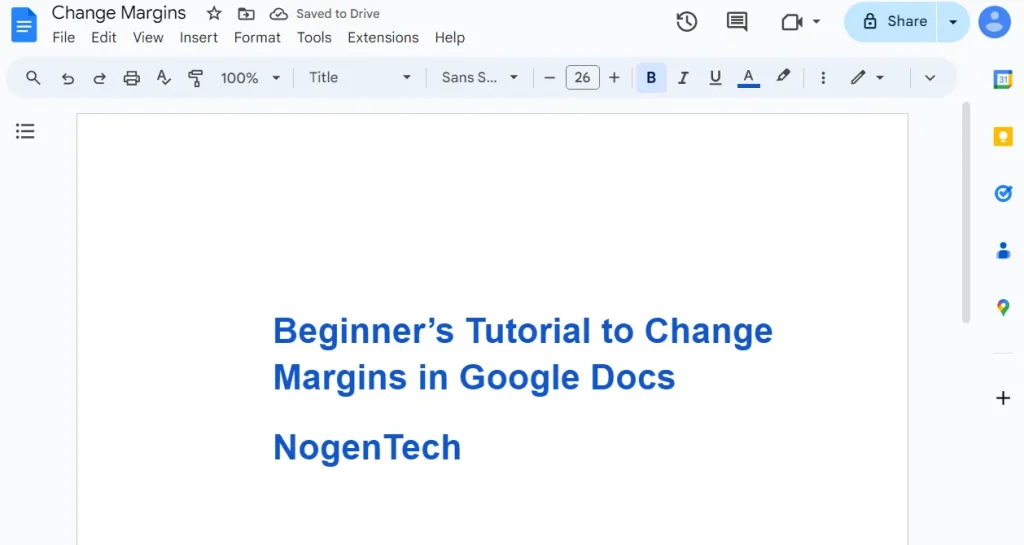
Step 7- Experience
Finally, your setup is completed, and you are free to write a compelling design that will engage more organic audience. As my writing piece is changed into my preferred design, which you can see in the picture below.
The Closing Remarks
If you are writing in Google Docs, then you may be concerned about changing your writing outline and style. Don’t worry! I am at your service to tell you how you can do so. Standard margins impact the writing style and design the most, so changing margins is essential to make your documents look compelling.
If you don’t know, how? Then, I have compiled a step-by-step guide on how to change margins in Google Docs. By following the guide, you can change your margins in Google Docs effectively.
FAQs
Q1- What are standard margins in Google Docs?
The standard margins in Google Docs are 1 inch for all sides: Top, Bottom, Right, and Left. Further, these margins are the same for all users, but they can change margins in page setup.
Q2- What is the margin in the layout?
The empty or blank spaces in the layout or page of a document are called margins. Users are free to optimize their writing piece by changing the page’s setup settings.
Q3- How do you explain margins?
I will explain margins as the crucial factor in deciding how your writing piece will affect others. (OR) Margins are just empty spaces and blank sides of the document that can’t be filled with words.
Q4- Do my setup margins affect my other documents?
Absolutely not. Your setup margins are for a specific document that can’t affect your other documents.