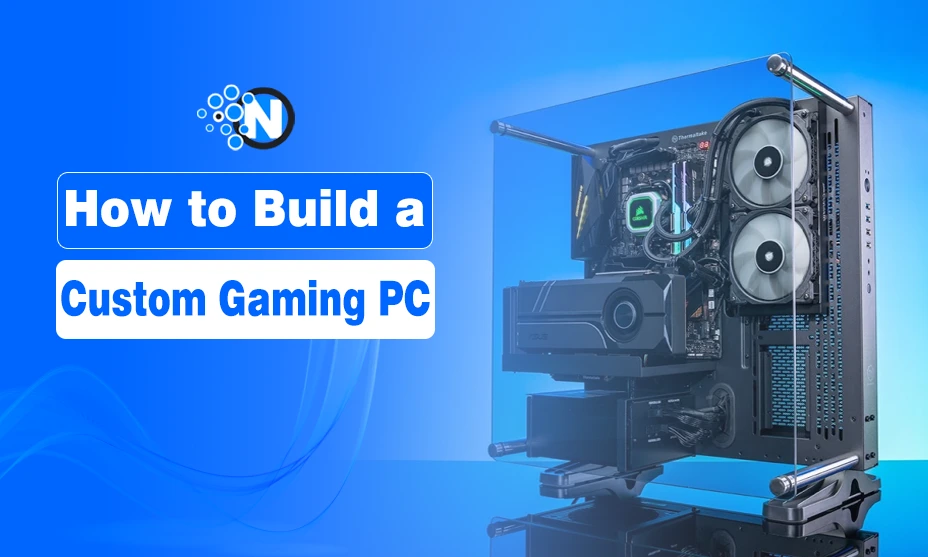
How to Build a Custom Gaming PC? Expert Tips

Gaming is always associated with entertainment and amusement. However, it is only possible when you have the right gaming gadgets. Otherwise, it is really challenging for anyone to play their favorite titles. On the top required items, Gaming PC holds the primary position.
While pre-built PCs are a good option as they do not require much effort, you should get a customized one for better outcomes. In this blog post, I have provided complete details on how to build a custom Gaming PC.
In this way, you can have your hands-on optimal experience and gaming entertainment without much consequences.
How to Build a Custom Gaming PC?
The following are the steps you need to follow in order to learn how to build a custom Gaming PC. You have to understand these steps properly and implement them perfectly to grab the desired outcomes.
1. Plan Your Build
Firstly, it is important to create a complete plan to determine what you want in your Gaming PC and the ways to get them. I have described it in the following section.
i) Set Your Budget
- Budget Constraints: Determine how much you’re willing to spend. In this way, you can create a proper gaming budget.
- Allocation: Distribute your budget across different components, prioritizing parts like the GPU and CPU.
ii) Understand Your Needs
- Gaming Preferences: Decide which games you want to play and at what settings such as 1080p, 4K, VR, or others.
- Future-Proofing: Consider how long you want your PC to provide you with optimal gaming experience without needing significant upgrades.
2. Choose Your Components
Each component of your PC plays a critical role in the overall performance. Therefore, you have to pay significant attention to all of them separately. Here I have created a breakdown of the essential parts you will need to choose.
i) Central Processing Unit
- Performance: Choose between Intel and AMD and consider core count and clock speed.
- Compatibility: Ensure the CPU is compatible with your chosen motherboard.
ii) Graphics Processing Unit
- Gaming Performance: You should select a GPU that meets the requirements of your preferred games.
- VR Support: If you are looking forward to playing VR games, make sure the GPU is VR ready.
iii) Motherboard
- Form Factor: The right size like ATX, Micro-ATX, and Mini-ITX is widely based on your case.
- Features: Look for features like overclocking support, Wi-Fi, and multiple GPU support.
iv) Memory
- Capacity: You should aim for at least 16GB of RAM for gaming. However, 32GB should be the ultimate pick if you plan to multitask heavily.
- Speed: Higher speeds can improve performance, especially when it comes to Gaming PCs.
Storage
- SSD vs HDD: Opt for an SSD as it not only offers faster load times but also compatibility with a larger memory device. An NVMe SSD is even more efficient.
- Capacity: Choose a size that accommodates your games and other files. A 1 TB storage is the best option.
v) Power Supply Unit
- Wattage: The PSU should provide enough power to all components of your Gaming PC for streamlined functioning.
- Efficiency: Look for 80 PLUS certification for better efficiency and reliability.
vi) Case
- Size: You have to make sure that your case fits your chosen components and has good airflow.
- Aesthetics: Next, choose a design that fits your style. You can also look for options like RGB lighting and tempered glass panels.
vii) Cooling Solutions
- Air vs Liquid Cooling: Decide between air coolers or more advanced liquid cooling solutions.
- Case Fans: Lastly, you should check if there is sufficient airflow through the case. If not, you should consider additional fans if needed.
viii) Accessories
Different gaming accessories are needed when it comes to having an entertaining experience. I have mentioned them below.
- Mouse: You should pick an ergonomic gaming mouse for your PC. Also, a mouse pad will be a handy pick.
- Keyboard: RGB lightning gaming keyboards are best as they can add beauty to your gaming room.
- Headphones: If you are looking forward to immersive entertainment on your PC, consider purchasing gaming headphones.
- Monitors: Many companies have designed their gaming monitors. These include Acer Monitors, Alienware Monitors, and others.
3. Assemble Your PC
After getting all the components, you have to assemble them in the case to build your gaming PC. In this section, I have detailed a step by step guide to cover all these steps.
- Firstly, prepare your workspace. Make sure it is clean and static free.
- Gather all the necessary tools such as anti-static wristbands and screw drivers.
- Carefully align and install the CPU into the motherboard socket.
- Next, you should apply thermal paste on the CPU before attaching the cooler.
- Install standoffs in the case before securing the motherboard.
- Connect the necessary power and data cables.
- Next, you should insert RAM sticks into the correct slots. Ensure the RAM sticks click into place securely.
- Insert the GPU into the PCIe slot on the motherboard.
- Add SSDs or HDDs in their respective drive bays.
- Connect the storage drives to the motherboard via SATA or M.2 slots.
- Place the PSU in its designated spot. It is usually present at the bottom of the case.
- Route power cables to the necessary components. It ensures clean cable management.
- Install any additional case fans for optimal airflow.
- Lastly, connect the front panel buttons and ports to the motherboard.
Read More: PC Part Picker – How to Use and Benefits for Customers
4. Initial Setup and BIOS Configuration
Before installing your operating system, you will need to configure the BIOS and ensure all components are recognized. It is the most important step as I struggled here s lot when building a Gaming PC for myself.
i) Powering Up
- Test Boot: Power on the system to ensure it boots correctly.
- Post-Beep: Listen for a successful POST beep, indicating that the system is functioning properly.
ii) BIOS Configuration
- Settings: Enter the BIOS and adjust settings like boot order and XMP profiles for RAM.
- Updates: Check for and install any BIOS updates.
5. Install the Operating System and Drivers
After you are done with the hardware setup, it is time to pay attention to the software system. You have to install the operating system and drivers. Here is how to do this.
i) OS Installation
- Boot Media: Use a USB drive with the operating system installer.
- Installation Process: Follow the on-screen instructions to install the OS.
ii) Driver Installation
- Motherboard Drivers: Install chipset, audio, and network drivers from the motherboard manufacturer’s website.
- GPU Drivers: Download and install the latest GPU drivers for maximum performance. Make sure they are fully updated.
6. Performance Testing and Overclocking
Once your system is up and running, you will want to ensure everything is performing optimally. In this way, you can enjoy seamless gaming entertainment. Performance testing can help in this regard.
i) Benchmarking
- Tools: Use benchmarking tools like 3DMark or Cinebench to test your system’s performance.
- Results: Compare your results with similar builds to ensure everything is running as expected.
ii) Overclocking
- Safety First: Proceed with caution and ensure you have adequate cooling.
- Settings: Adjust CPU and GPU clock speeds in the BIOS or through software utilities.
7. Maintenance and Upgrades
Lastly, you have to maintain your gaming PC and upgrade it on a regular basis to maintain its performance and reliability.
i) Cleaning
- Dust: Regularly clean dust from fans and components to prevent overheating.
- Reapply Thermal Paste: Occasionally reapply thermal paste to the CPU and GPU.
ii) Upgrade Components
- Future Needs: You should keep an eye on newer components that can provide better performance.
- Compatibility: It is necessary to check the compatibility of new components with your existing hardware.
Top Components You Should Choose For Building a Gaming PC
The components I have mentioned above are produced by many countries. However, not all of them are properly functional and highly dedicated to gaming. Here I have mentioned the top components you should select when it comes to building a gaming PC.
- CPU: Intel Core i9-13900K, AMD Ryzen 9 7950X
- GPU: NVIDIA GTX 1060, NVIDIA GTX 970, NVIDIA’s New Ada Lovelace RTX 6000 GPU, AMD Radeon RX 7900 XTX
- Motherboard: ASUS ROG Maximus Z790 Hero, MSI MEG X670E ACE
- RAM Memory: Corsair Vengeance RGB Pro 32GB (2 x 16GB) DDR5 6000MHz, G.SkillTrident Z5 32GB (2 x 16GB) DDR5 6400MHz
- Storage: Samsung 980 Pro 2TB NVMe SSD, Seagate FireCuda 4TB NVMe SSD
- Power Supply Unit: Corsair RM850x 850W 80 PLUS Gold, EVGA SuperNOVA 850 G5 850W 80 PLUS Gold
- Case: NZXT H710, Fractal Design Meshify C
- Cooling Solution: NZXT Kraken Z73 RGB, Noctua NH-D15
- Other Components: Corsair iCUE H150i Elite Capellix Liquid CPU Cooler, Thermaltake Toughpower GX2 1200W 80 PLUS Gold
Final Thoughts
These are the details on how to build a custom Gaming PC. I have mentioned all the steps you have to follow to make sure you can learn every aspect to take care of when purchasing components and planning the build.
Now, it is up to you to allocate a sufficient budget and make the right choice without breaking the bank. The best components are also listed here that can help you build a high end gaming machine that will resonate with your gaming needs and preferences.


