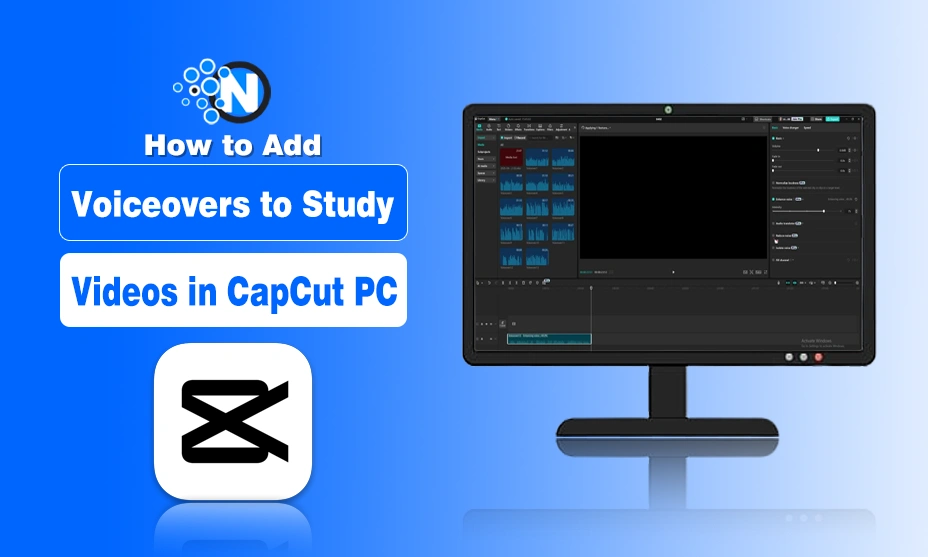
How to Add Voiceovers to Study Videos in CapCut PC

If you are a student or teacher, you know how difficult it can be to make study videos concise and interesting. Voice-overs can be used to simplify concepts. They provide direction to the viewer, add a human touch, and make learning simpler. Used effectively, they assist students in staying on track and retaining more.
Adding voice-overs might seem difficult, but with the proper tool, it is easy. CapCut Desktop Video Editor, or CapCut PC, does this easily. It has options that allow you to record and insert your voice in the correct section of the video.
In this article, I am going to discuss how you can add a voice-over to any video by using CapCut PC.
Let’s start.
Importance of Adding Voice-Over to Study Videos
Voice-overs make study videos more authentic. They make the teacher address the student, even if it’s a recording. This makes the video more like a class, not merely a silent clip. Students remain more engaged when they listen to someone describe what’s on the screen.

Suppose you are demonstrating a math problem. If there is no sound, it’s all numbers. But if you guide the student through each step verbally, the student can listen. They grasp the process, not the solution.
Voice-overs also assist teachers. They do not need to repeat the same lesson multiple times. They can do it once and repeat it numerous times. This saves time and keeps the message simple.
Voice-overs are also beneficial for teachers who teach students elsewhere or who communicate in different languages. You can record in more than one language. This way, more students can learn.
Some instructors utilize utilities such as text-to-speech to assist them with this. It provides an even, strong voice, regardless of whether or not they’d prefer to utilize their own voices. This permits them to remain able to have a simple and clear lesson for all kids.
Why Use CapCut Desktop when Adding Voiceovers
CapCut Desktop Video Editor, or CapCut PC, is an excellent application for providing voiceovers to your study videos. It comes with basic audio tools integrated, so you can record, insert, and trim your voice directly within the editor.
The interface is simple to navigate. You can easily reposition audio to sync your video in a matter of clicks. This assists you in maintaining your lesson smoothly and organized. You can also cut and mold your audio to suit your teaching requirements.
This editor also provides you with tools that function like an AI video generator. You can include effects, clean cuts, and clear images along with your voice. This assists you in making your video more visual and clear for the student.
It’s reassuring to know that CapCut Desktop Video Editor isn’t completely free. Some voice tools and effects require a paid plan. But recording and syncing most voiceover tools, for example, can be done at no cost.
This makes it a wise choice for instructors who need to create good lessons quickly and easily.
How to Add Voiceovers on CapCut PC
When it comes to adding voiceovers on CapCut PC, you need to follow a series of simple steps. I’ve discussed the details of these steps below:
Step 1: Download and Install CapCut Desktop Video Editor
Visit the official website of CapCut and download the application onto your computer. Ensure you download either the CapCut Desktop Video Editor or the CapCut PC version. This will allow you access to features created for desktop editing.

After downloading, complete the setup procedure to install and log in. The installation is fast and straightforward. Be aware that although most tools are free, there are some advanced ones that require a subscription.
Step 2: Import Your Study Video
Launch the CapCut AI video generator and press “Import” to import your video. Drag the file onto the screen or browse through the menu to upload it from a folder.

Then, the video will show up on the timeline. This process prepares your project for editing. It also allows you to layer audio and other effects.
Step 3: Add Your Voiceover
- To add a voiceover, find the microphone tool under the audio section. Click it to begin.
- Ensure your microphone is connected and on. You can test it before recording.
- Click the “Record” tab and speak into the microphone. You can even upload a voice file if it’s already recorded.

You can pause, replay, and re-record if necessary. Once you record, add the voiceover to the timeline to sync the audio with the video. This ensures your words coordinate with what’s on screen.
If you need to use varied tones or languages, you can experiment with the voice changer feature. It assists in providing variety and modifying the voice according to your audience.
Step 4: Edit and Enhance Voiceover
You can now refine the voice. Cut unnecessary segments. Balance the volume. Insert background music if it suits the subject.
Use tools like noise control or the voice changer to sharpen the audio. These make the sound clear and more fun to follow.
Some of these features are part of the paid version, so check which ones are free to use.

Step 5: Export and Share the Video
Once your video is ready, click “Export.” Pick the format and size that works best for your use.

You can now distribute the video to your students. Share it on your LMS, email it, or publish it on your teaching page.
Conclusion
Voice-overs added to study videos make students learn more easily. It also engages them and keeps them on their toes. Clarity in voice guidance makes learning more personal and easier to hear.
CapCut Desktop Video Editor provides you with the proper equipment to do this with ease. It is easy to use and suitable for students and teachers.
Just ensure that you download it from the original site. Payment might be necessary for some tools, but the majority of voiceover elements are free. Experiment with voice-overs on your next study video. You will notice how much it enhances learning and keeps students engaged.


