How to Take a Screenshot on Chromebook – A Complete Guide

It is extremely easy to take a screenshot on Chromebooks from which users can capture a special moment, make tutorials, or record important information. There are different methods to capture the screen for various devices. You will completely understand how to take a screenshot on a Chromebook in this guide.
There was a basic screenshot tool on Chromebooks in the past and was opened with a difficult keyboard shortcut. Google has introduced an improved method to capture a screenshot in its new Chromebooks from which you can easily capture both images and screen recordings on it.
How to Take a Screenshot on Chromebook by Using Keyboard Shortcut?
Start creating Verdict in seconds, and convert more of your visitors into leads.
This method allows you to take a screenshot by pressing particular keys from the keyboard. These keys will instantly capture the screen of your device. Following is a stepwise procedure on how to capture a screenshot:
- You need to press three keys simultaneously from your keyboard.
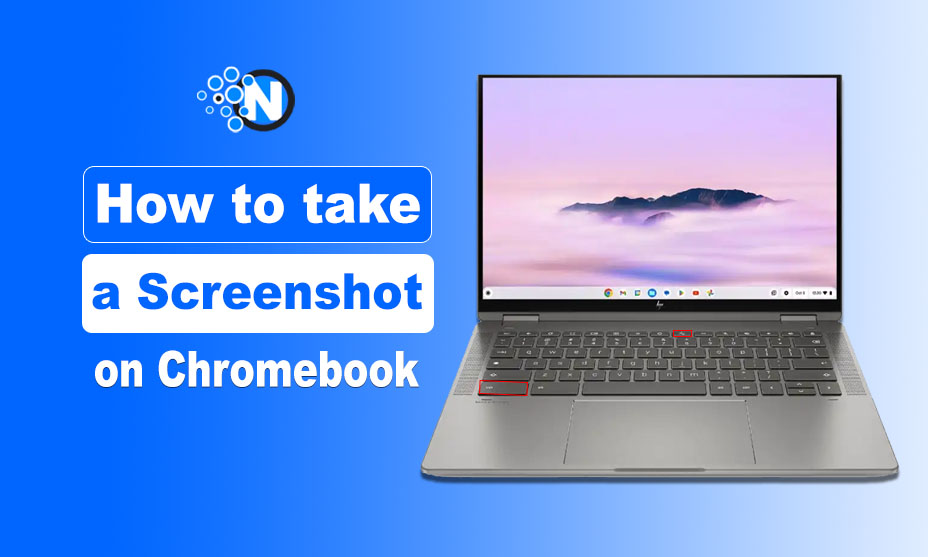
- Press Shift + Ctrl + Show Windows.
- The Show Windows key is located at the top row of the keyboard which has a Window icon.
- After pressing these keys, the toolbar will appear at the bottom of the screen.
- This toolbar allows you to take a screenshot.
- Press Ctrl + Show Windows in order to capture an entire screen of your Chromebook instantly.
- Some Chrome books have a Screen Capture Key which allows you to open the toolbar quickly.
- This key has an icon of the camera which looks like a rectangle with a circle in it.
How to Take a Screenshot on Chromebook from Settings?
Start creating Verdict in seconds, and convert more of your visitors into leads.
This method is highly beneficial for those who do not remember the shortcut keys and want another option. Google has now added a shortcut button in its Quick Settings panel to capture screenshots effectively. Here is the step-wise process on how to use this method:
- Open the Chrome’s Shelf.
- Click on the time.
- A Quick Settings menu will appear.
- Select the screen capture button.
- The toolbar will be launched.
How to use the Screenshot Toolbar Properly in Chromebook?
Start creating Verdict in seconds, and convert more of your visitors into leads.
It is the next step you need to know after understanding how to take a screenshot on Chromebook. This toolbar provides multiple screenshot options, from which you can choose the one that fits your needs. You can easily capture images and videos from this toolbar.
It is set to screenshot mode by default, and you can change it by selecting the video button which is present next to the camera button. In the right direction on this toolbar, there are multiple options from which you can either capture a full screen or a partial screen. The settings button lets you enable or disable the mic during the screen recording.
Where to Access the Captured Screenshot on a Chromebook?
Start creating Verdict in seconds, and convert more of your visitors into leads.
After taking a screenshot, you can instantly access it from the clipboard. The clipboard contains the most recent 5 items you saved into your device. You can also press the Search Key + V from the keyboard to look at what is stored in the clipboard.
Furthermore, these screenshots can be accessed by opening the Files app on the Chromebook and there will be two folders named Images and Videos in which the images and screen recordings are saved that you capture from the screen.
Tips Related to How to Take a Screenshot on Chromebook
Start creating Verdict in seconds, and convert more of your visitors into leads.
- You can also capture a screenshot from an external keyboard by pressing Shift + Ctrl + F5.
- If you want to save the screenshots in a different folder, then press Shift + Ctrl + Show > Settings > Select Folder.
- The recently captured screenshots are accessible in Tote which is present on the Chrome Shelf.
- You can select whether to capture the full screen, a single window, or a partial screen from the screenshot toolbar.
The Final Verdict
Start creating Verdict in seconds, and convert more of your visitors into leads.
There are multiple methods from which users can easily understand how to take a screenshot on Chromebook. These methods allow users to capture a memorable moment, save a specific note, cook a recipe and more.
Chromebooks offer limited storage space so you cannot be able to store more data in it. It is recommended to transfer these images to Google Drive or an external hard disk to manage the storage space effectively.
FAQs
Start creating Verdict in seconds, and convert more of your visitors into leads.
How to take a screenshot from Quick Settings?
Click on the time present in Chrome’s Shelf and the Quick Settings window will appear in which the screenshot button is displayed.
How to edit my screenshots in Chromebook?
You can edit the captured screenshots from its built-in image editor tool to crop, rotate, resize and add elements in it.
Where are my Chromebook screenshots stored?
The screenshots and screen recordings are saved in the Images and Videos folders which are present in the Files app.


